Disclosure: This post may contain affiliate links. We may earn a small commission at no extra cost to you if you make a purchase through these links. Please read our full Disclaimer for more details.
Editorial Note: This article is for informational purposes and does not replace professional dermatological advice.
Spa-level tech now lives in our bathroom cabinets. If you just bought a high-frequency wand, knowing how to handle it dictates whether you get a glowing complexion or a compromised skin barrier. Using at-home esthetic tools requires precision, so let’s cut to the chase: here is the exact protocol to maximize your results without frying your skin.
The Science Behind High-Frequency Wands
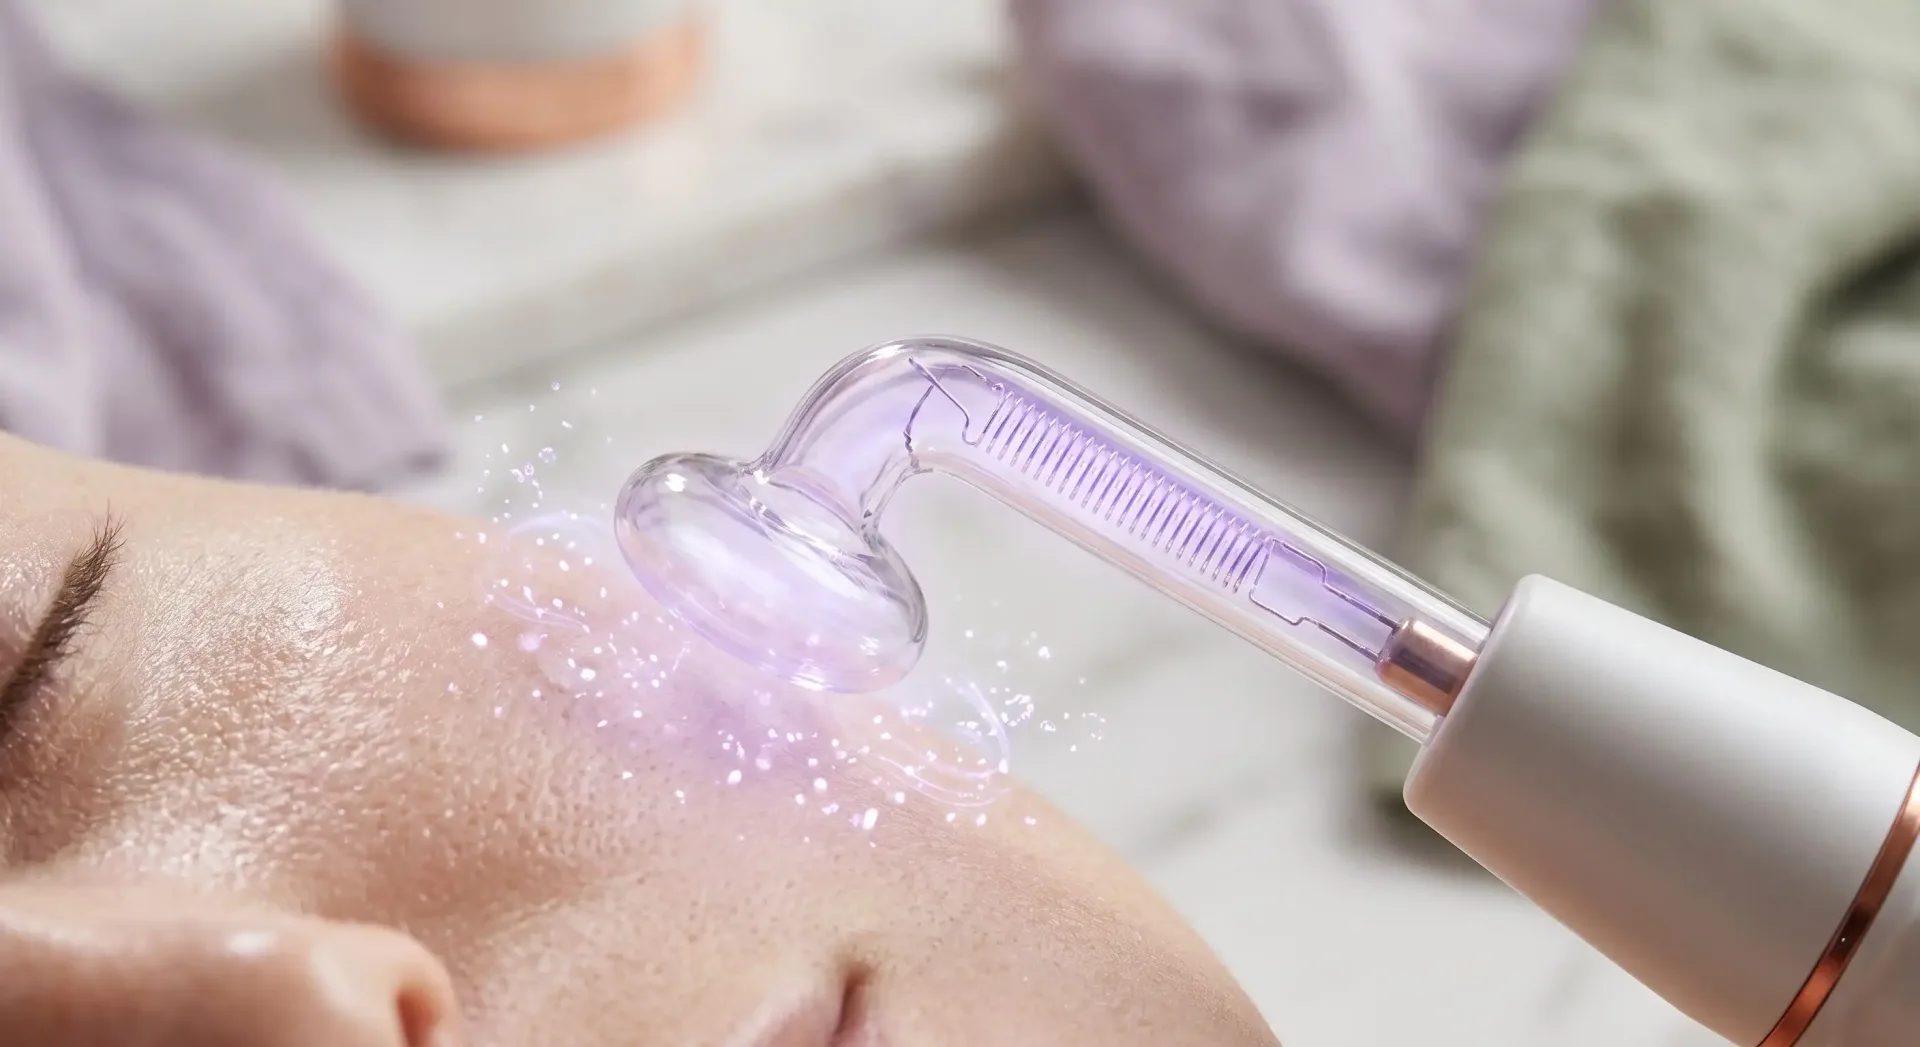
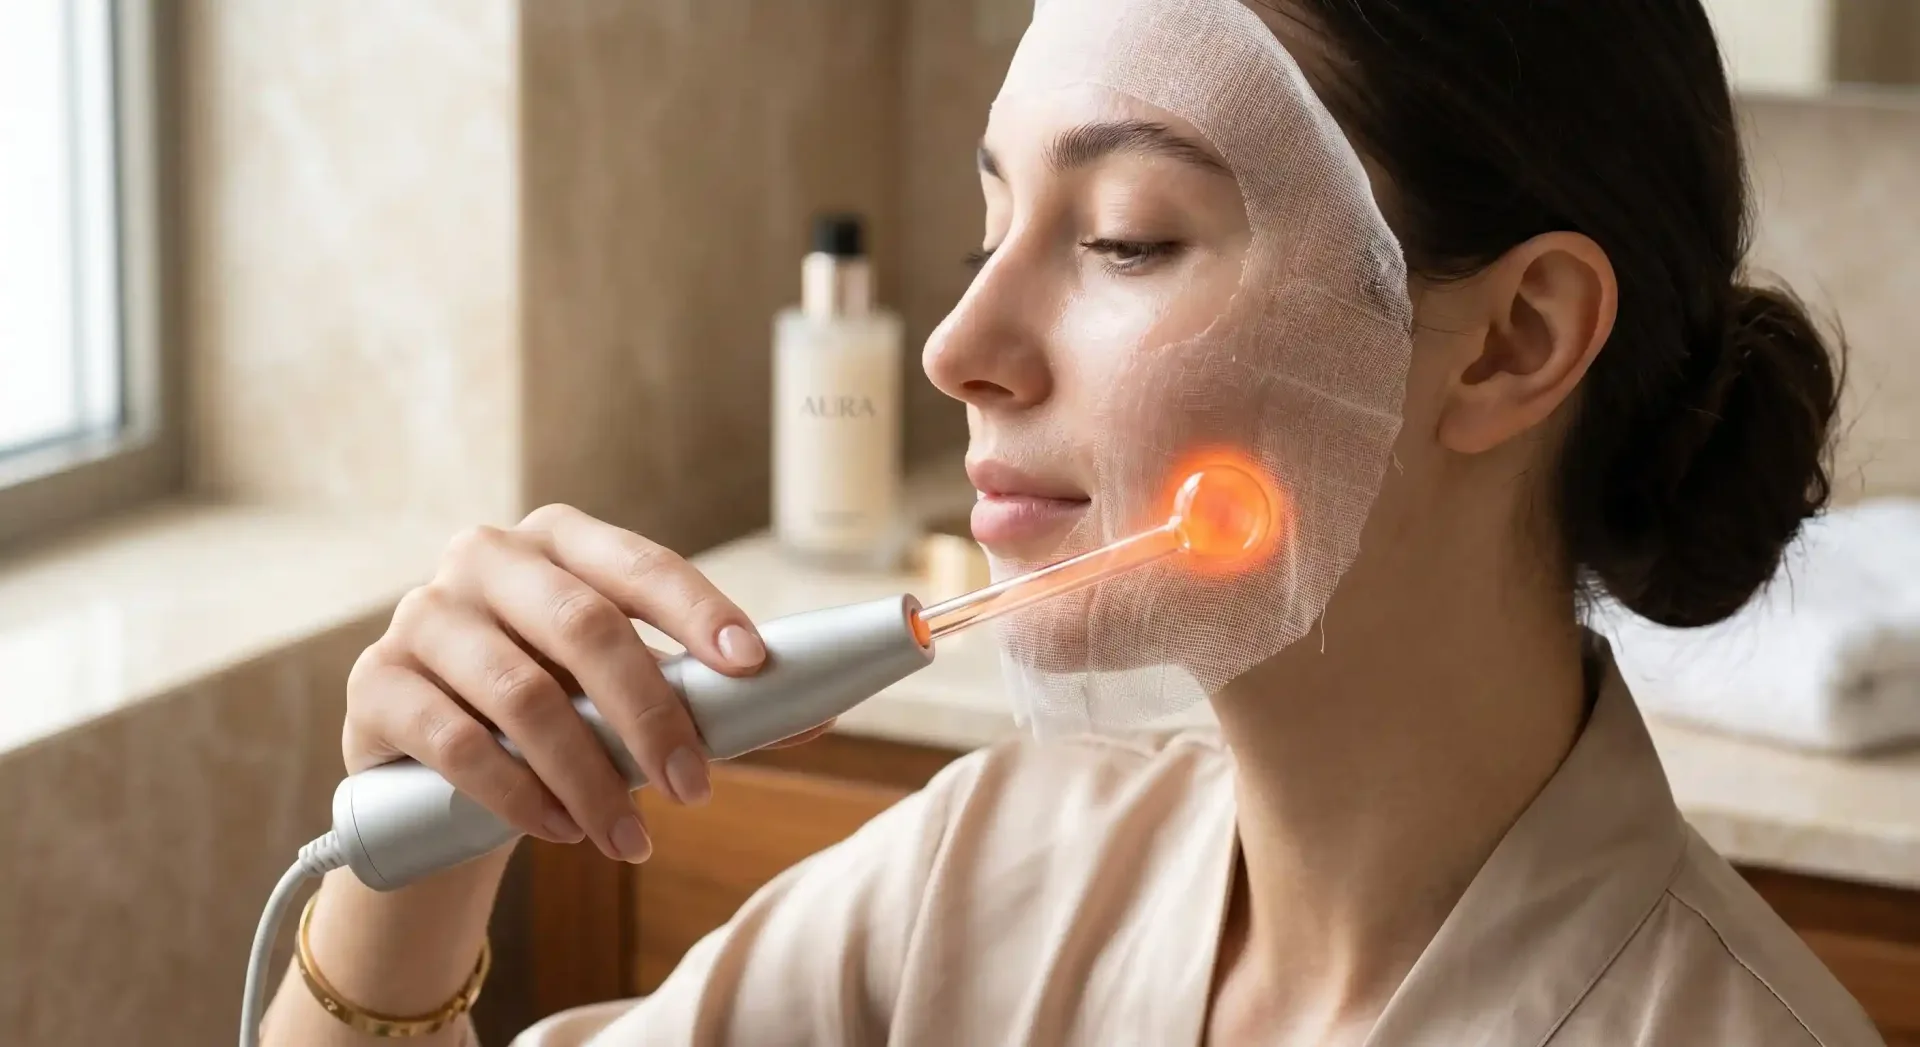
These devices push a gentle, oscillating electrical current through a glass electrode filled with gas. Argon gas produces a violet ray (best for acne-prone skin), while neon gas emits an orange glow (ideal for aging skin). When the glass contacts your face, it ignites the gas, creating a subtle buzz and the metallic scent of ozone. That ozone oxygenates the skin’s surface, creating an inhospitable environment for acne-causing bacteria and temporarily boosting circulation.
Treat this tool as a topical enhancement, not a clinical cure. Devices like the NuDerma Clinical Skin Therapy Wand support overall skin vitality, but only when paired with a smart, consistent regimen.
Step-by-Step: How to Use High Frequency Wand Tools at Home
Mastering exactly how to use high frequency wand techniques is essential for preventing unwanted irritation and protecting your delicate skin barrier. Rushing the process is a terrible idea. Take your time. Keep your hands steady.
Step 1: Prep Your Canvas
Electricity and water are a dangerous mix. Start with a freshly cleansed, bone-dry face. Lingering makeup, sweat, or oil disrupts the current and invites localized shocks or surface burns. Wash with a gentle, non-stripping cleanser—like La Roche-Posay Toleriane Hydrating Gentle Cleanser —for 60 seconds. Rinse, pat dry with a clean microfiber towel, and wait 10 minutes to ensure all residual moisture evaporates from your epidermis.
Step 2: To Serum or Not to Serum?
If you prefer a wet glide, you can use a serum—but it must be purely water-based. A targeted hydrator like L’Oreal Paris Revitalift 1.5% Pure Hyaluronic Acid Serum creates a smooth slip across your cheeks.
Alternatively, use the wand on totally dry skin. Place a thin layer of standard non-sterile gauze over your face before applying the electrode to create friction-free movement. Never use oil-based serums, facial oils, or thick creams under the wand. Oils disrupt the electrical current and heat up rapidly, which can burn the skin.
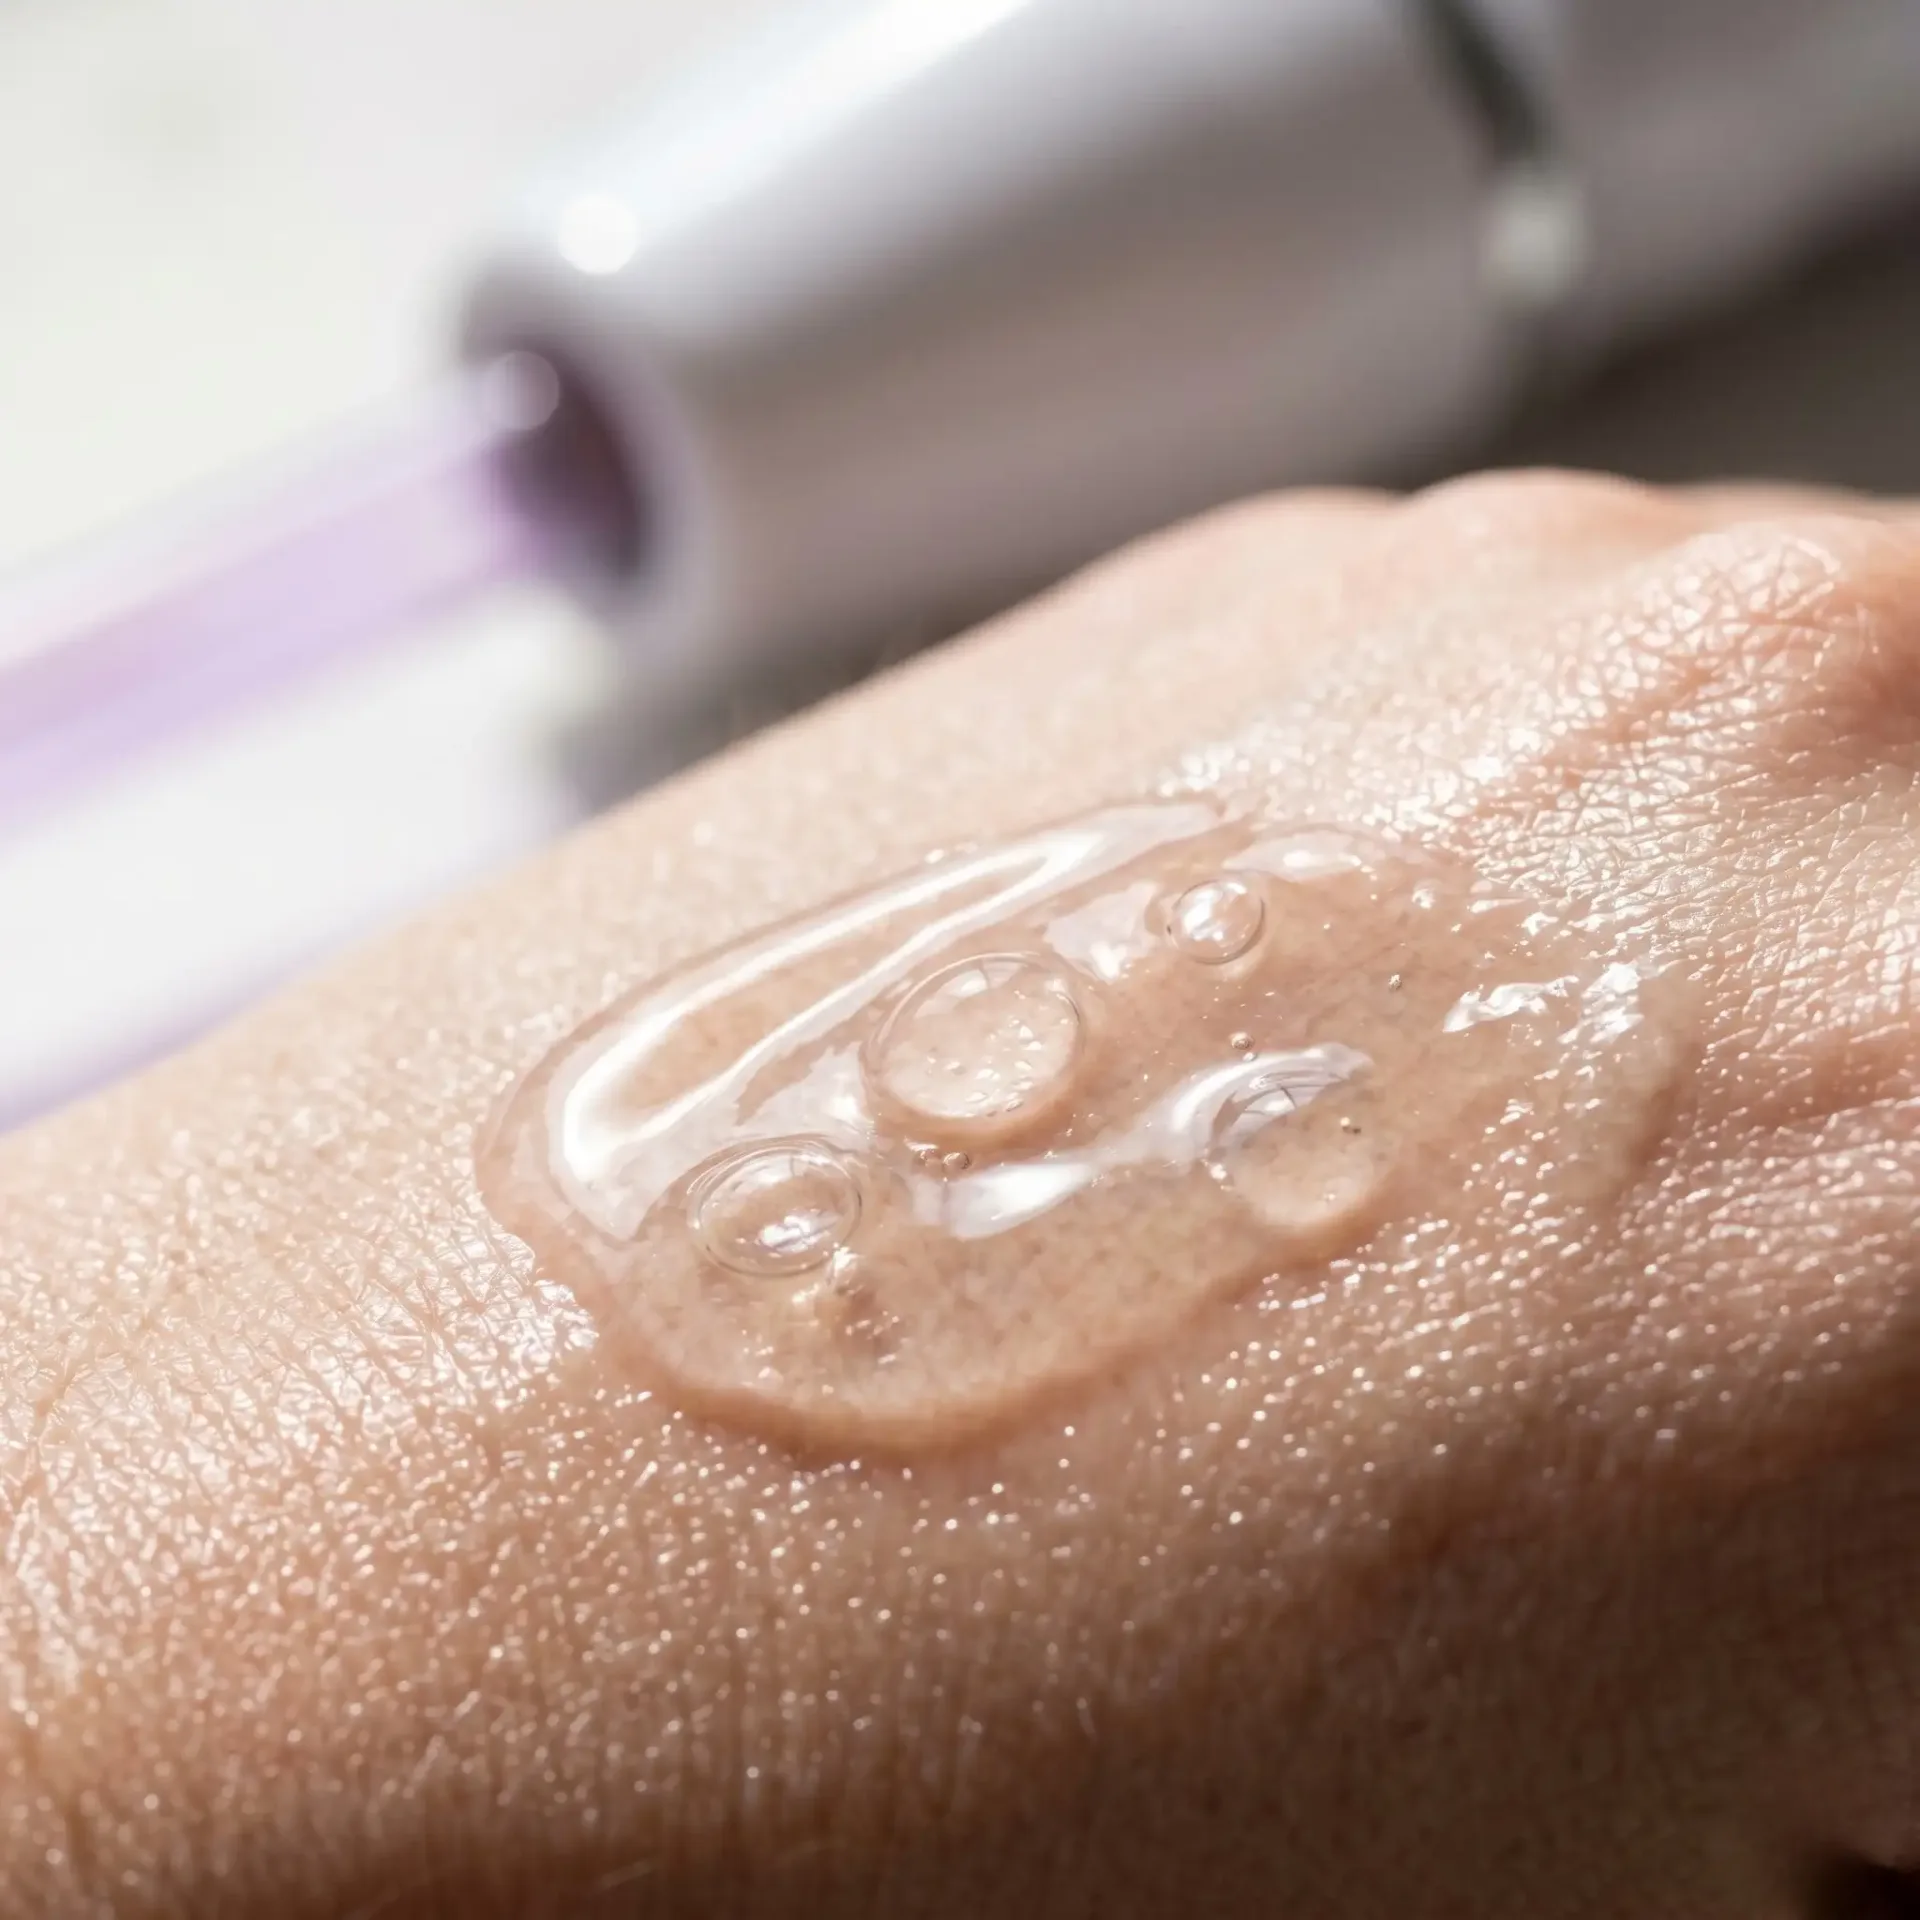
Alternatively, you can absolutely use the wand on completely dry skin. To create slip without using products, simply place a thin layer of Dealmed Non-Sterile Gauze Sponges over your face before applying the glass electrode. Never use oil-based serums, thick facial oils, or heavy night creams under the wand. Oils can disrupt the electrical current and even heat up uncomfortably on the skin’s surface.
Step 3: The Grounding Technique
Avoid the dreaded spark by grounding the device. Place your index finger directly on the glass electrode, bring the glass to your face, and then lift your finger off. The current transfers smoothly.
Keep the tool moving constantly. Trace small circular motions across your target areas. Hovering over a single spot for more than three seconds guarantees post-treatment redness. Keep the wand dancing lightly across your jawline, cheeks, and forehead.
When and How Often to Use It
Slot this step into your PM routine, post-cleanse and pre-moisturizer. Your skin regenerates overnight; the wand simply provides a stimulating push. Finish with a robust, barrier-repairing moisturizer (like Vanicream Daily Facial Moisturizer) to calm any temporary flushing by morning.
As for frequency: start slow. One to two times per week is the absolute limit for beginners. Cap each session at three to five minutes for the entire face. Daily use will destroy your skin barrier, leaving you dry, red, and inflamed.
How Often to Use High Frequency Wand
More is not better. Wondering how often to use a high frequency wand? Start incredibly slow. One to two times per week is plenty. Limit each session to no more than three to five minutes for the entire face. Your skin needs time to acclimate to the stimulus. Daily use will absolutely compromise your skin barrier, leaving you dry, red, and frustrated.
Side Effects and Strict Contraindications
Expect slight tingling and temporary redness. Some users experience mild dryness the next day, which makes your post-treatment moisturizer non-negotiable.
Safety comes first. Do not use this device if you are pregnant, have a pacemaker, or have a history of heart conditions. Skip it entirely if you have severe rosacea or prominent broken capillaries, as the electrical stimulation will actively aggravate those conditions. When in doubt, clear it with a board-certified dermatologist before flipping the switch.
Conclusion: Consistency and Care for Optimal Results
Patience pays off. Rushing your skincare journey never works out well in the end. By prioritizing a clean canvas, practicing the grounding technique, and sticking to a conservative schedule, you set yourself up for genuine success. Knowing exactly how to use high frequency wand devices transforms a daunting aesthetic tool into a reliable weekly ritual. Start slowly. Protect your barrier at all costs. Grab the recommended tools to build your safest at-home setup, and enjoy the subtle, vibrant results.